Setup a domain on ABT Node
2020-11-29
A step-by-step guide to setup a domain on ABT Node.
For anyone building with ArcBlock's DApp Platform, adding a domain to your ABT Node is an important step to deliver your blog, website, DApp,and more.
In this walk-through, we will show you how add a domain to your ABT Node in just a few simple steps.
Before we start
For the purposes of this demo, you will need an active domain and the ability to add a DNS record to your domain.
- In this example, we will use Google Domains, but the process will be the same regardless of your domain provider.
- We also need a public IP address. For this demo, we will use thepublic
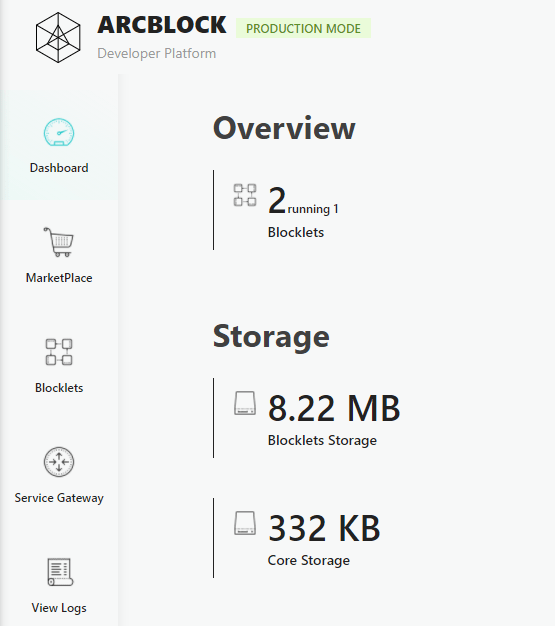
- Have a Blocklet installed on your ABT Node so you can enable your ABT Node to automatically handle your traffic and serve your Blocklet service publicly. In this case, we will use the Boarding Gate Blocklet so anyone can play Crypto 2048 online. Be sure that your Blocklet is running.
Let's add a domain
Before we configure our ABT Node, let's go ahead and setup your domain so you can add it to your ABT Node.
- Login to your domain provider. In our example, we are going to login to Google Domain and select DNS from the left-hand action bar.
- On the DNS page we will see several options to configure name servers, registered hosts and in our case we want to go ahead and add a Custom Resource Record for our domain.
- We are going to create an A Record by adding the following:
- Name (enter your domain name and as you can see in our example we added @ which is the default.) Note, be sure you have configured www with your registrar if you want to serve traffic from a www address.
- Be sure to select A for the Type
- For TTL lets us the default of 1h
- Now, in the Data field we are going to enter our public IP address that we received when setting up our AWS instance.
- Select Add to add the entry to your records. You should see something like the following screenshot.
- With our domain configured, we are now ready to add it to our ABT Node. For our next step, go ahead and login to your ABT Node.
- Now, select Service Gateway on the left hand action bar.
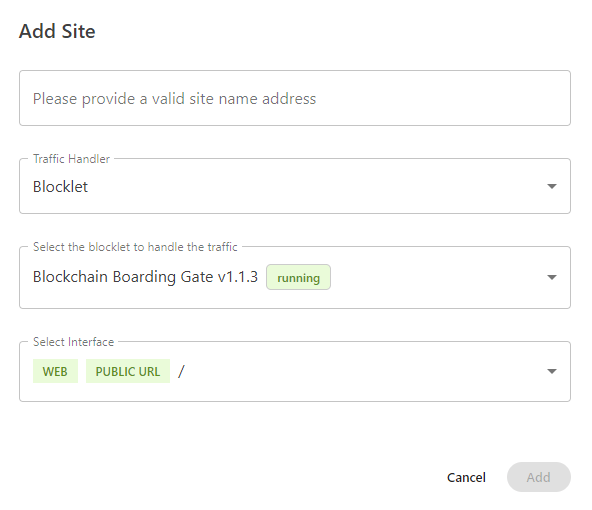
- The Service Gateway enables to easily add a new domain. In the URL section, click on Actions to option up the drop down that enables you to Add Site. Note, you do have the ability to add aliases, sub domains and URL redirects in the Service Gateway. We will show you how to complete those steps in future walk-throughs.
- Now, enter in your details for your Blocklet. In this example, we will associate our domain address with our Boarding Gate Blocklet to enable anyone to easily register a new account on our blockchain.
- Enter your domain address into the name address field.
- confirm how your traffic will be handled. In this case, we are setting up traffic for our Blocklet.
- Be sure your designated blocklet is selected. (note, this is just a simple example and with your Service Gateway you can configure multiple domains, sub domains, URL redirects and more for your various services and Blocklets.)
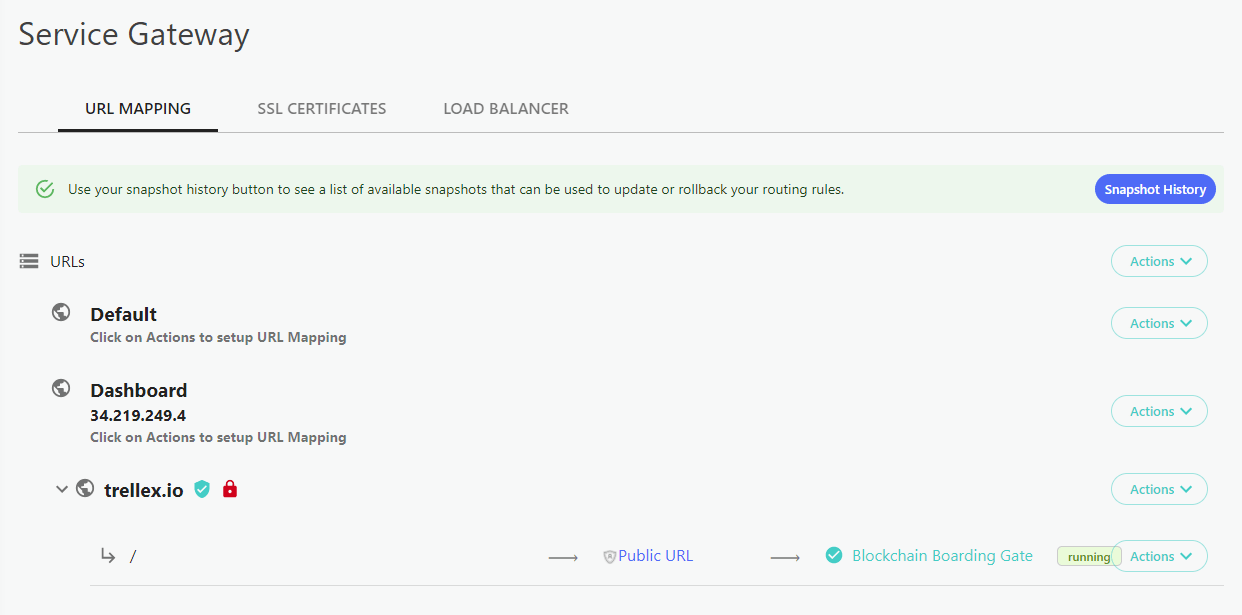
- Now, with your domain added to your ABT Node it should look something like this. You should see a green check mark if the DNS was setup correctly and we are ready to use the domain for your Blocklet.
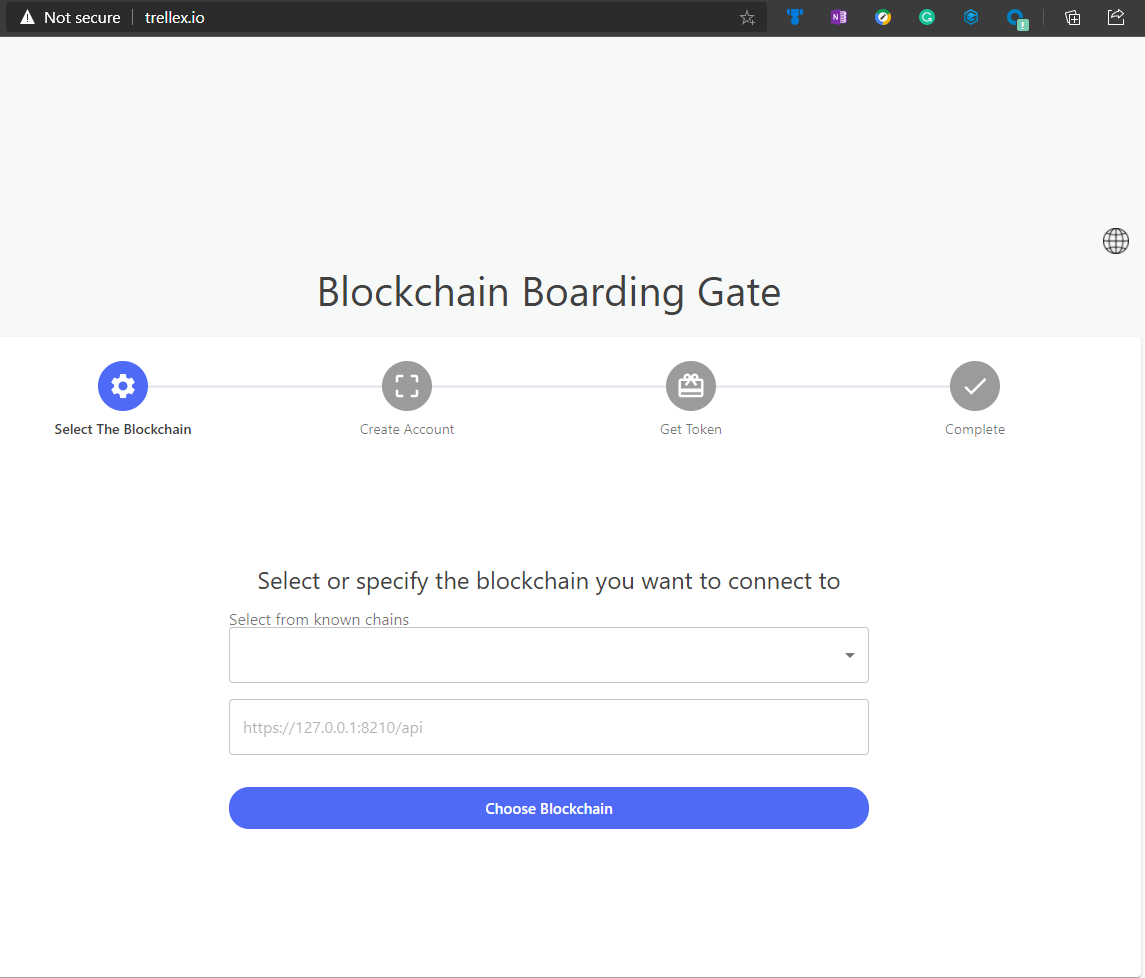
- Let's try it. Go to your browser and enter in your domain name that your setup. In this case, we setup trellex.io and we can see the Blockchain Boarding Gate Blocklet is ready to use. Great work.
Note: for the purposes of this example, we did not configure an SSL but encourage you to do so. You can find the steps to configure a localhost certificate here, or just click on Add SSL and follow the prompts.
What's next
Let's try building a basic HTML Site and deploy it to our Blocklet.


