Getting Started with Forge SDK
2019-10-06
Author: Shijun Wang (ArcBlock Senior Software Engineer)
At ArcBlock our goal is to make building blockchains and dApps easy. In doing so, our goal is allow any development project to easily utilize the benefits of blockchain technologies without the complexity. Using Forge SDK, this article will walk you through how to build your own blockchain and dApp in just a few minutes. To begin, let's first look at what is included with Forge.
The Forge SDK now includes the following components supporting the full lifecycle of a dApp:
- Forge Core: transaction processing engine, interaction with consensus engine, data storage layer, weekly size release
- Smart Contracts: Forge's built-in trading contracts help developers solve 99% of business logic such as accounts, transactions, cross-chain, and chain governance
- Forge Desktop: Desktop Chain Node
- Forge Web: Web management console and block browser for Forge chain nodes
- Forge SDK: including support for Elixir, Javascript, Java, Python, Rust with more on the way
- Forge Simulator: Traffic Simulator
- dApp Workshop: Build dApp scenarios and workflows to test your logic
- Forge Patron: Integrated testing tools
- Forge Deploy: A dev-ops tool to support large-scale deployment of production environments, currently only supports AWS
- Forge Compiler: Smart Contract Compilation Tools, followed by Forge, available in Forge CLI
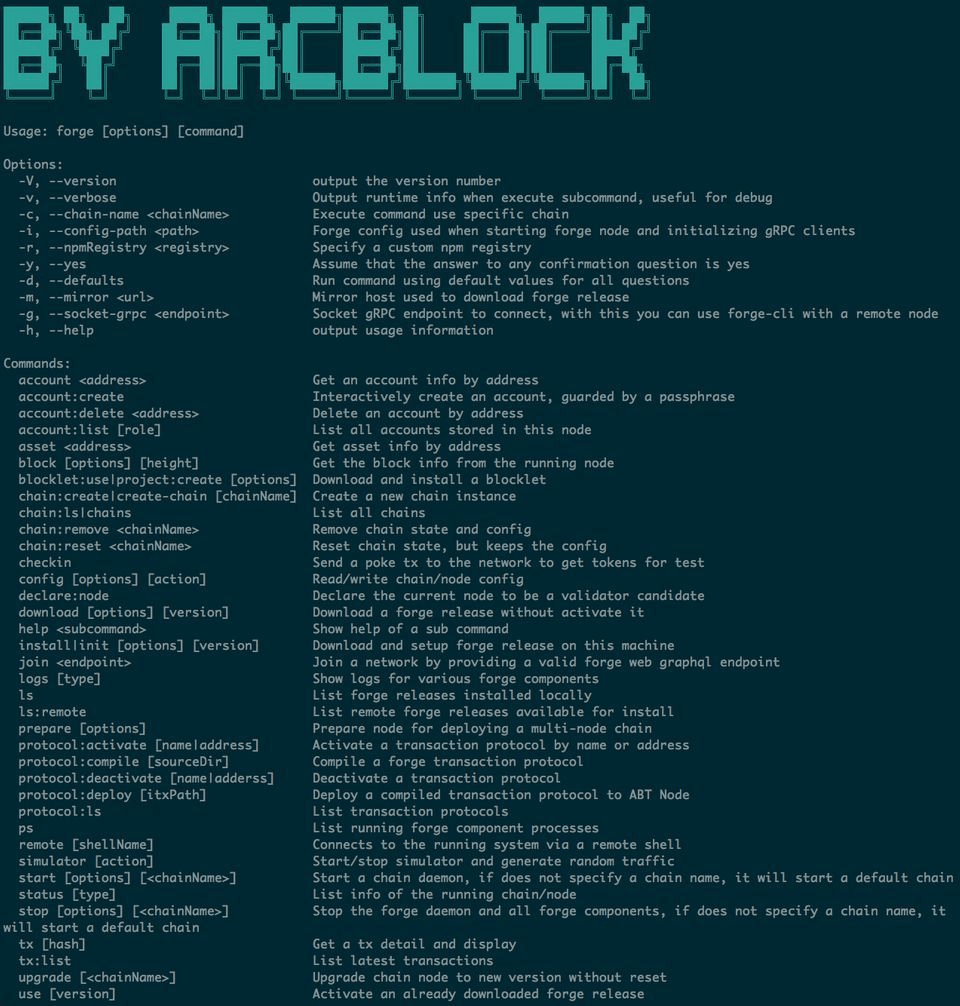
Forge CLI is one of the best ways for developers to get and use these tools including having the abiity to run a single command that gives you access to the entire SDK toolkit.
This "Getting Started" article is focused on how to use Forge CLI to do the following:
- One-click Blockchain Setup - create and configure your own blockchain.
- One-Click dApp Creation - quickly create a dApp that runs on the blockchain.
Install Forge CLI
For this example, we are using Node.js so you need to be sure you have Node.js v10.x or higher on your computer before your start the install. You can verify the runtime by running:
Now, let's sart the install for Forge CLI, execute::npm install -g @arcblock/forge-cli,Wait for the installation to complete and you should see the following output:
Install the Forge Release
Runforge install v0.38.4and install Forge to your local drive. The install process is as follows:
One-Click Chain
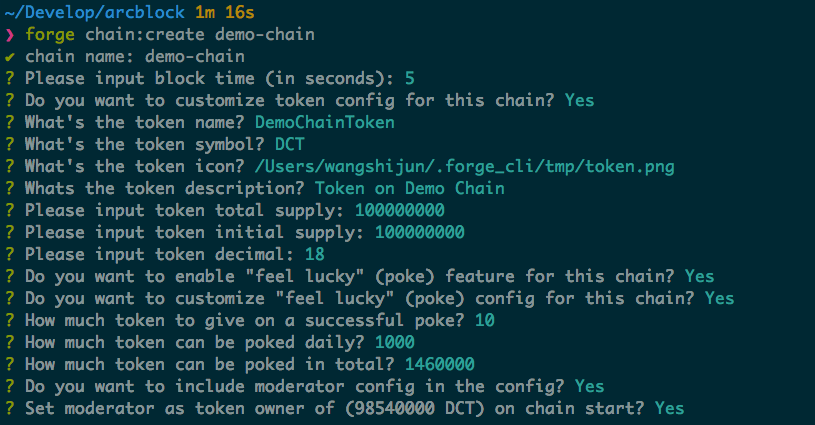
Now, run the following: forge chain:create demo-chainto create your first blockchain and define the name of DCT and a total of 100 million tokens. The process is as follows:
For the custom configuration, follow these steps:
- Chain name: demo-chain both the chain and node are called demo-chain.
- Please input block time (in seconds): 5 Block time is set to 5-seconds
- Do you want to customize token config for this chain? Yes Select tokens on your custom chain
- What's the token name? Demo Chain Token Token name
- What's the token symbol? DCT Set your token ticker with at least 3 characters
- What's the token icon? /Users/wangshijun/.forge_cli/tmp/token.png Token icon file path and we suggest a square .PNG image.
- Whats the token description? Token on demo chain Token description
- Please input token total supply: 100000000 Token supply of 1 billion
- Please input token initial supply: 100000000 Initial token supply is 1 billion
- Please input token decimal: 18 decimal places
- Do you want to enable "feel lucky" (poke) feature for this chain? Yes Allow users to sign in to receive tokens
- Do you want to customize "feel lucky" (poke) config for this chain? Yes Customize the parameters of the check-in feature
- How much token to give on a successful poke? 10 Receive 10 tokens per check-in
- How much token can be poked daily? 1000 Give out up to 1,000 tokens per day
- How much token can be poked in total? 1460000 Maximum number of coins allowed to be checked in
- Do you want to include moderator config in the config? Yes Automatically create a chain administrator information
- Set moderator as token owner of (98540000 DCT) on chain start? Yes Put the remaining tokens in the administrator account
After you execute the command, you should see the following message:
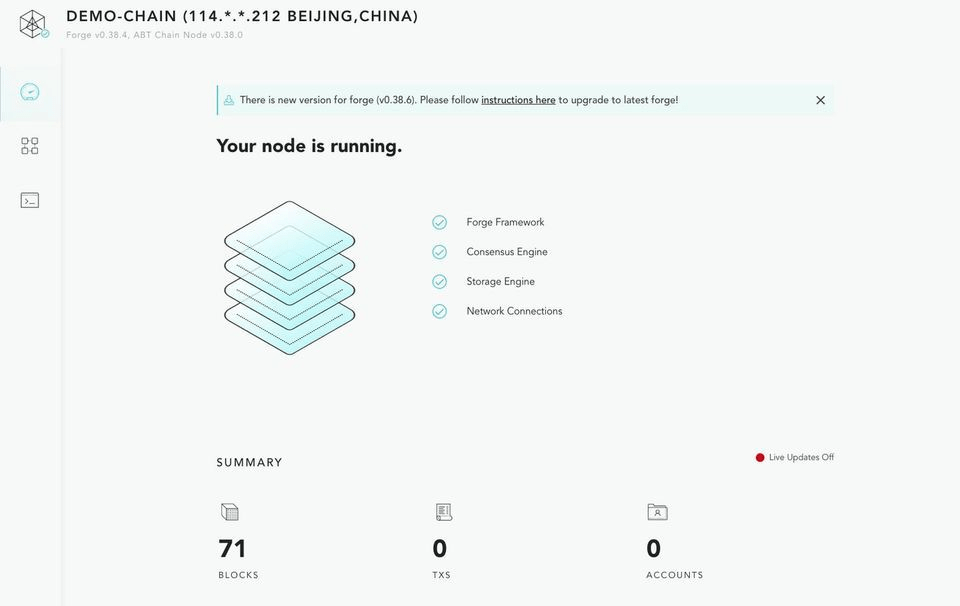
Now runforge start demo-chain to start your test chain and wait for about 15-seconds for it to start automatically.
The test chain just started is a single-node chain. The local node has a web UI and integrated block-explorer. Runforge web open to open the console.
One Click dApp Deployment
Now that we have our chain, we can create our first decentralized application (dApp) running on the chain. Blocklet is a reusable building block that greatly simplifies the creation of a dApp for developers. In some cases, Blocklets can contain off-the-shelf componets, modules, libraries, front-end views and other tools needed to simplify the process of building a dApp. Once you have selected a Blocklet, you simply install, start and run the blocklet. Note, Blocklets can also be combined to build more complex dApps.
For this example, we are going to create a dApp with the following features:
- Support users logging in with the ABT Wallet
- Allow users to scan a code to check in and receive tokens
- Allow users to pay with test coins to unlock encrypted documents
Run forge blocklet:use, select forge-react-starter,and then sepcific the directory where teh dApp code will be stored as demo-dapp,see the example below:
Now, follow the prompts and configure the parameters for the dApp. Once done,forge-react-starter will automatically create a DID account for the dApp and declaire the DID of the dApp on the chain. Note, the DID is based on ArcBlock's W3C CCG DID specification using decentralized identity and is fully built into Forge). See below:
Now you see the GraphQL interface of the test chain you setup. This interface can be found in the last column of the forge start demo-chain seehttp://localhost:8211/api。
Now that the dApp has been created, you should see the following prompt:
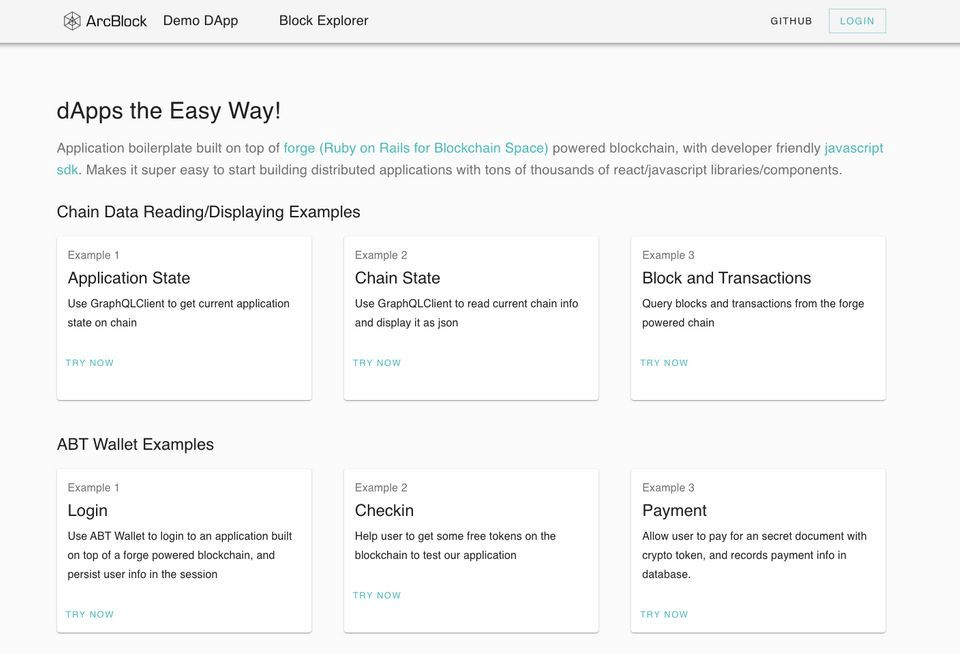
Follow the prompts to enter the dApp directory and launch your dApp. If you've done everything correctly, you should be able to see the dApp's home page in your browser:
Click on login on the top right corner and use the ABT Wallet to scan the code. If you don't have the wallet, you can download it at https://www.abtwallet.io.
The scan proess is very similar to the WeChat or WhatsApp login process.
Enter the user name and email information of the dApp request on the ABT WAllet and swipe to confirm. After doing this, you will see:
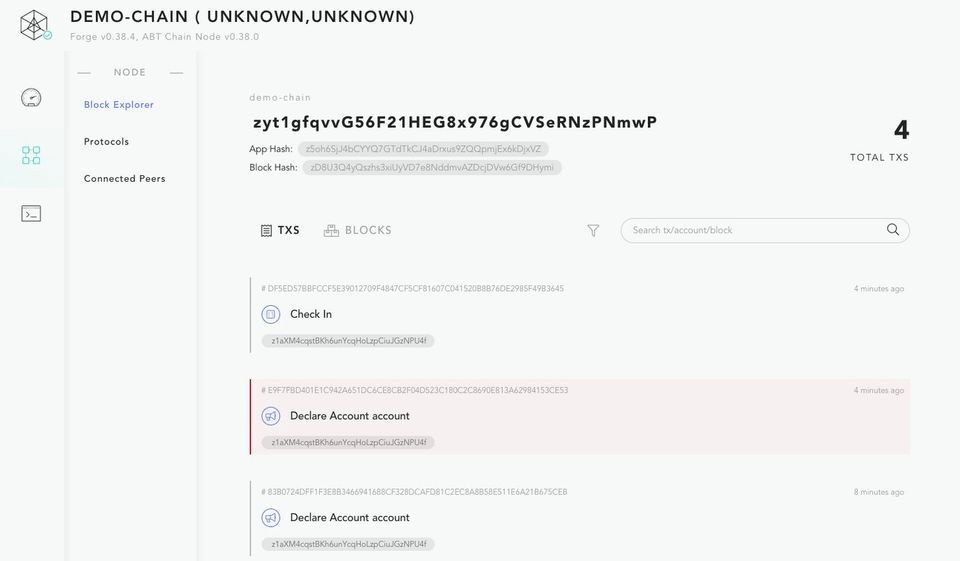
Click on "GET 25 DCT" and then use the wallet to scan the code again to get the 10 tokens we configured earlier and also to login. Now, if you refresh you should see a balance of 10 an the block explorer on your local machine shows teh transactions related to the registration nad check-in. See the example screenshot below:
As a next step, let's unlock the encrypted page. Just click on "my purchase" button to open the payment page.
Summary
If you have any experience with command line, the entire process should be straight forward. As a developer, Forge CLI will allow you to focus on your dApp business logic and the Forge Framework will do the rest including all the underlying depencies need to make everything work. Our goal is to make building blockchains and dApps easy, and Forge does just that.
